'%3e%3cpath%20stroke='%23ED6E77'%20stroke-linecap='round'%20stroke-linejoin='round'%20stroke-width='2'%20d='M15%2016.875V3.125c0-.69-.56-1.25-1.25-1.25h-7.5c-.69%200-1.25.56-1.25%201.25v13.75c0%20.69.56%201.25%201.25%201.25h7.5c.69%200%201.25-.56%201.25-1.25Z'/%3e%3cpath%20fill='%23ED6E77'%20d='M10%205.625a.937.937%200%201%200%200-1.875.937.937%200%200%200%200%201.875Z'/%3e%3c/g%3e%3cdefs%3e%3cclipPath%20id='a'%3e%3cpath%20fill='%23fff'%20d='M0%200h20v20H0z'/%3e%3c/clipPath%3e%3c/defs%3e%3c/svg%3e)
How to Make a DIY Gift Box
The trend of giving gifts to each other has become popular worldwide. A present can say a lot about your relationship with someone. The value of a gift is much greater than its cost, as every gift is primarily about emotions.
Choosing a present can be a challenging task, requiring taste and knowledge of the recipient’s preferences. However, the presentation of the gift is equally important.
Depending on the occasion and the reason, gift packaging can also vary to emphasize the nature of the event, the gift itself, or the recipient.
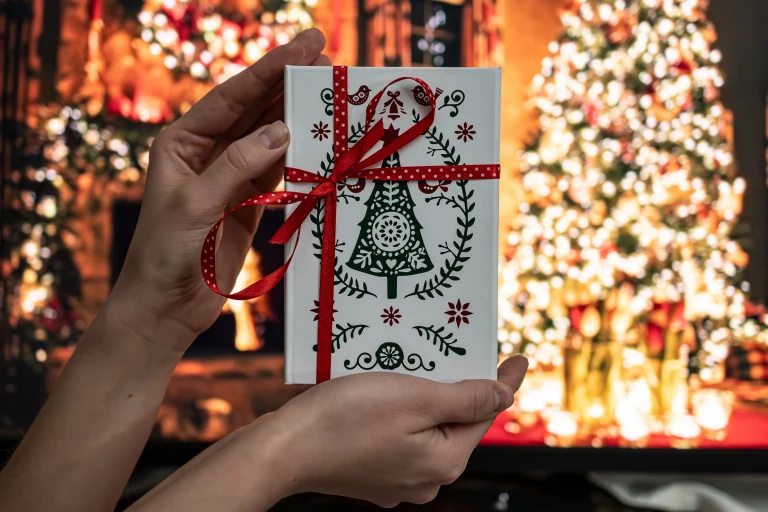
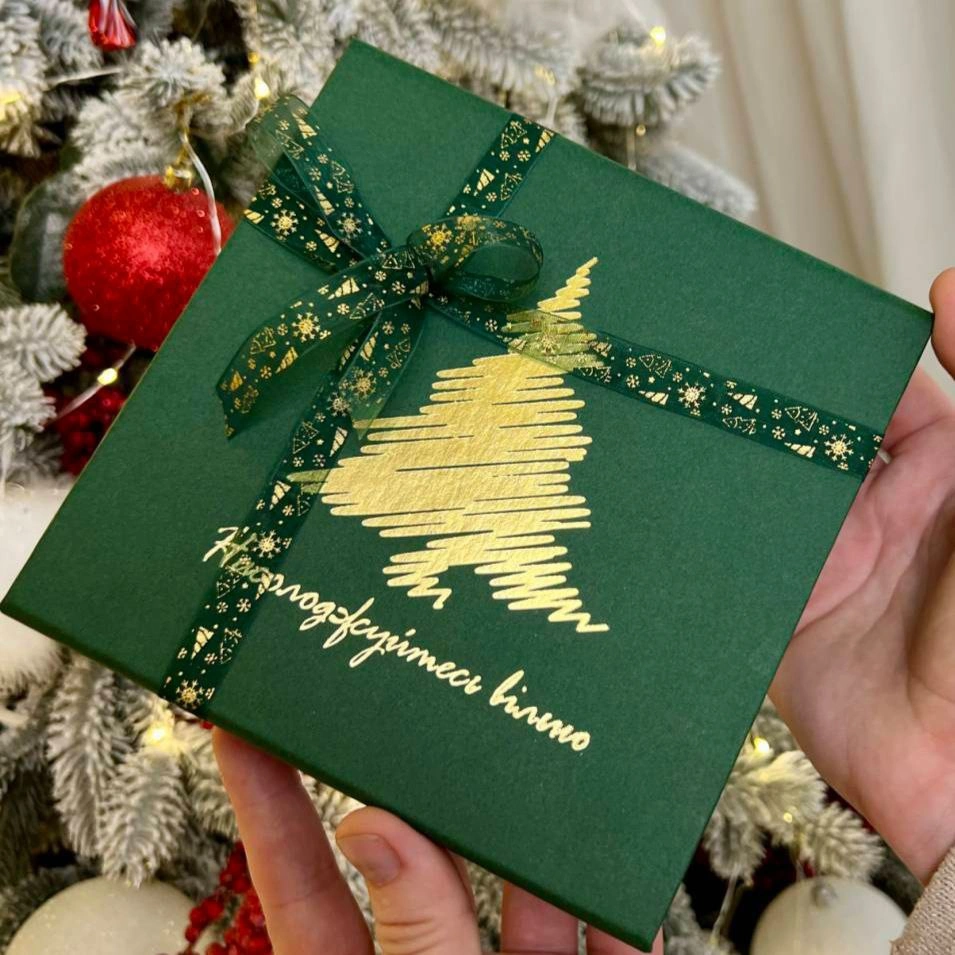
Show your creative side, and you’ll surely make a good impression! You can create your own unique gift cases of various sizes: from cute miniatures for small surprises to larger ones for bulky items. Making DIY packaging can be done quickly and relatively easily.
Using the appropriate materials, you undoubtedly create impressive packaging with your own hands. Ordinary cardboard, craft paper, or laminated cardboard and thick paper work best. If you’re unsure about the design, the internet offers numerous collections of designs in different styles, as well as ready-made templates for the most popular constructions.
To make a DIY gift box, you’ll need:
- Cardboard
- Utility knife or scissors
- PVA glue or a hot glue gun
- Decorative paper, paints, tape, etc. (depending on your chosen design)
- Crafting tools such as a ruler, pencil, compass, painter’s tape, etc. (as needed)
Creating your own packaging starts with cutting the cardboard to match the size and shape of the base. If you’re creating a bundle based on the size and shape of your present, it’s recommended to leave a bit of extra space on all sides. This allows you to fill the empty space with padding to protect the pack contents. Typically, it’s a good practice to leave a margin of about 1-3 cm.
- Next, you’ll need to cut a second piece of cardboard to match the size of the first one. Since the base will support the walls, its thickness should be at least two layers, or even better, three layers for additional stability and strength.
- Glue the layers of the base together using glue, making sure they dry evenly. This will help maintain the stability of the structure. You can also use weights to prevent the material from bending during the drying process.
- Then, cut a long strip to form the side walls. The size of this strip should match the height you calculated for the side’s, and it should be long enough to wrap around the entire perimeter of the base. Don’t forget to leave a bit of extra material as a “reserve” to make it easier to join the walls.
- Form the sides of the pack by adhering the strip to the base using glue, ensuring precise alignment of the bottom edges of the sides with the bottom part of the base. Using a small square or ruler can help you align the corners correctly.
- For added stability and strength, repeat the process by cutting and attaching a second layer from the main material. Start by cutting a second strip of cardboard with the same width but slightly longer than the first one, taking into account the thickness of the already attached walls.
- Form the walls from the second layer of material, adjusting them to the shape, and glue them in place.
- To create the lid, outline the top part of the case on a sheet of cardboard and add a small margin to ensure that the future lid easily fits on and off. Then cut out the top part according to the outlined shape.
- For the side wall of the lid, cut a long strip of cardboard and fold it according to the shape of the lid.
- Attach the side wall of the lid to the top part, aligning the walls perpendicular to the base.
- If you wish, you can decorate the walls by gluing decorative or craft paper, ribbons, glitter, and other embellishments on top.
- Making a DIY gift bundle can be an interesting and pleasant way to show your loved ones how much you respect, love, and care for them.
- Now you know how to make a box with your own hands, and you can create packaging of any size and shape.
However, it’s important to consider that such pack have both pros and cons, as well as specific purposes. Some products require specially manufactured packaging. By ordering it from a manufacturer, you can significantly enhance the appearance of your present.
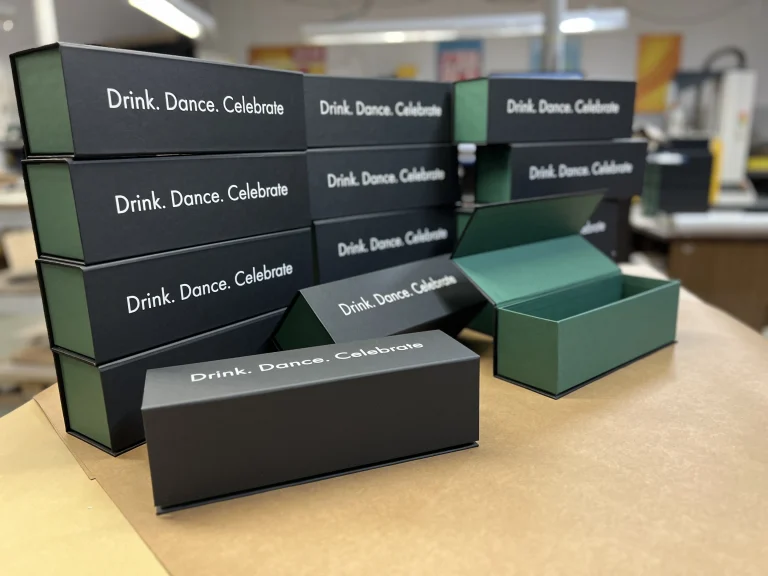
Here are some significant advantages of factory-made pack
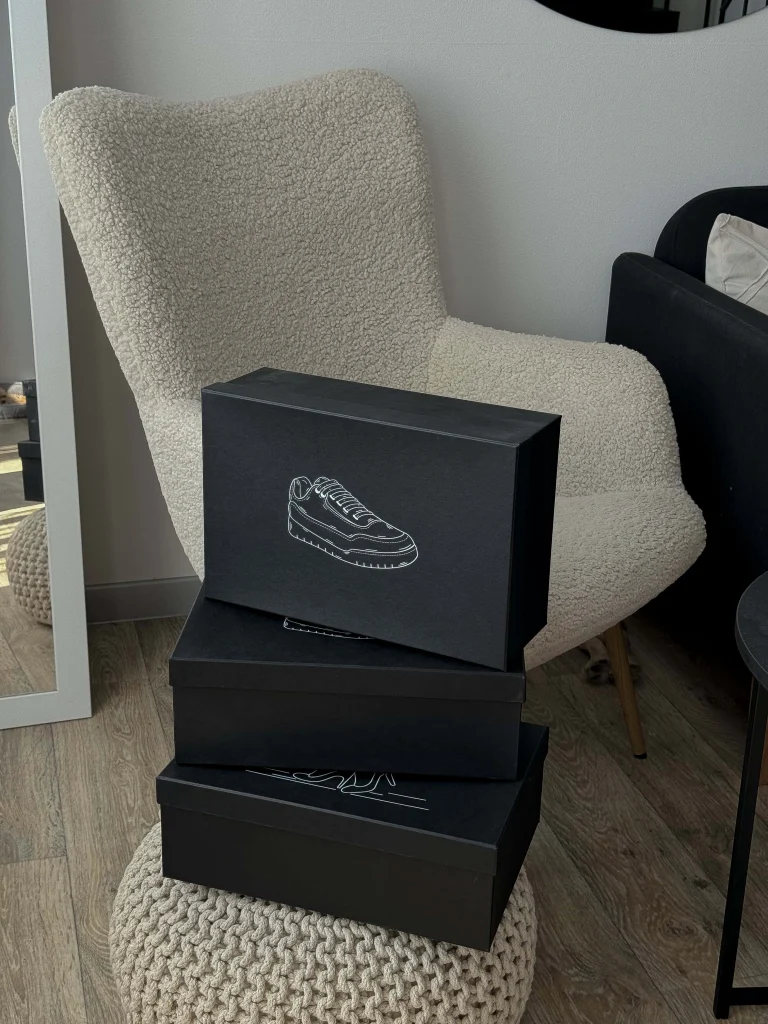
Variety of Shapes and Opening Mechanisms
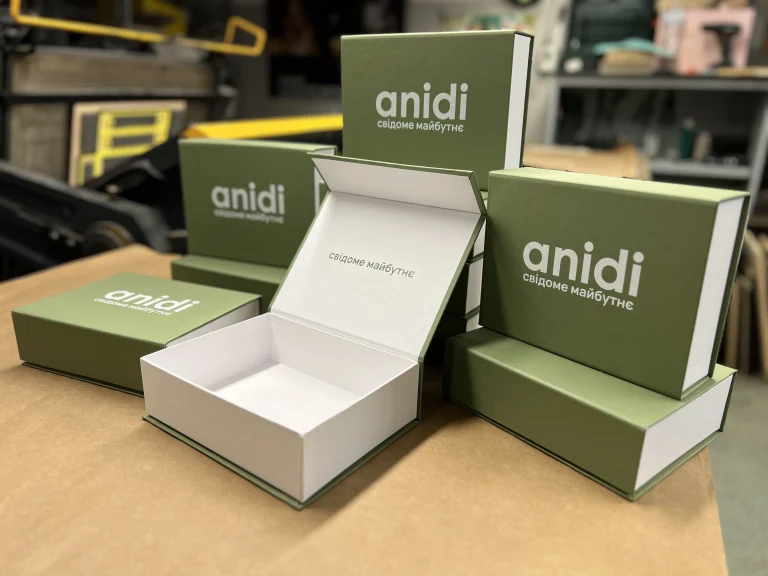
Classic flap boxes are more suitable for transportation or storage, whereas constructions like “lid-bottom,” “magnetic closure top,” and sliding boxes are better suited for gifts.
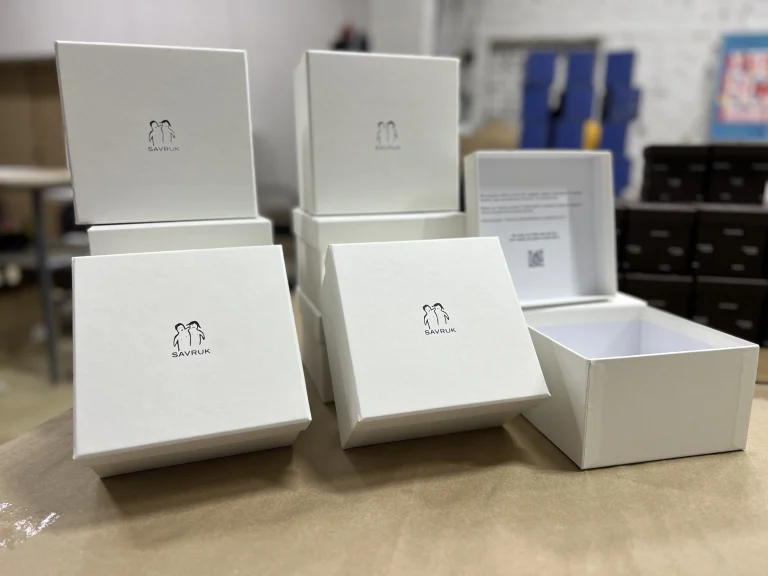
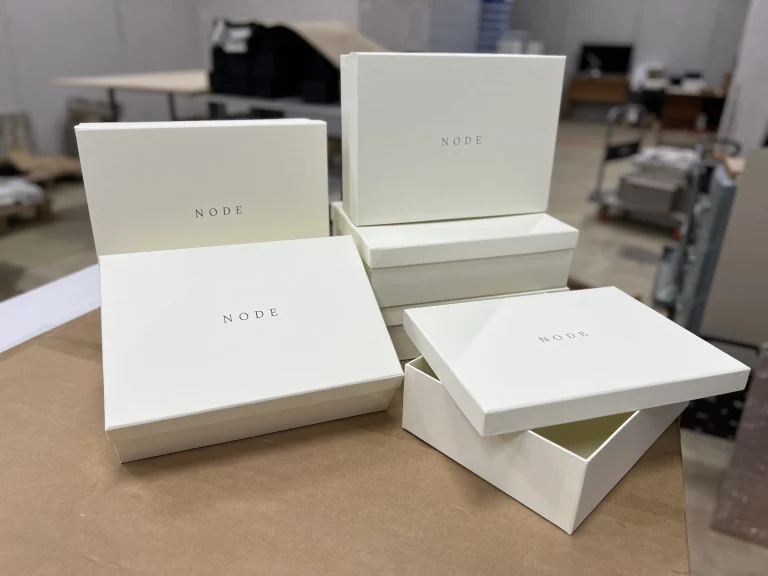
Material
The quality of the material becomes a crucial factor in packaging, especially when dealing with premium-class products. Cardboard offers broad opportunities for personalization, but achieving high-quality lamination or finishing is nearly impossible in home conditions. Other processes are generally similar, with differences in execution quality.
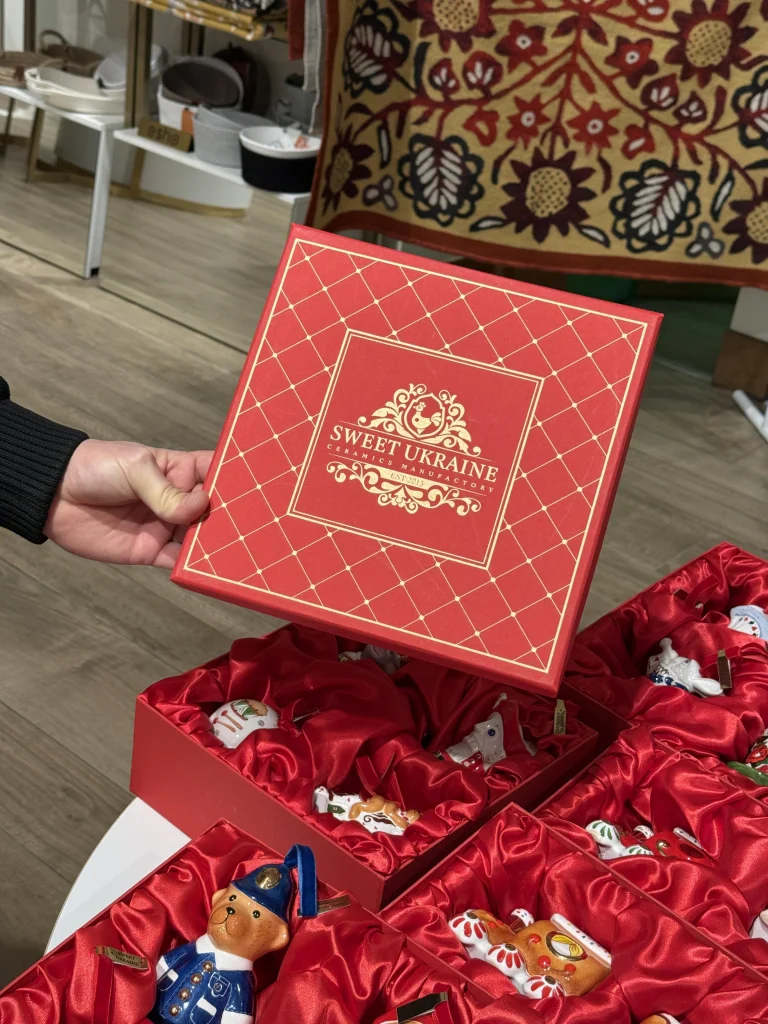
Design
If you want to pleasantly surprise your loved ones, individually created gift packaging is exactly what you need. Approach the packaging design with care and responsibility. High-quality printing work wonders. Our designers will gladly help you bring your boldest ideas to life.
Consistently High Quality
Industrial equipment allows us to guarantee the highest quality of printed products. When you order cases from Boxes, you can be confident that each one individually complies with the approved sample.
Conclusion
Creating gift boxes by hand is an excellent way to make an original and creative present. With ready-to-print templates and limitless possibilities for personalization, you can convey a special sense of care to your loved ones. This idea is accessible to everyone, just like custom box production. We continuously improve our technologies and work with suppliers to ensure consistently high quality and affordability for everyone.
Publication date: 01.02.2025
Share: